Sunday, February 24, 2013

A good effort this weekend!

Not out of the woods yet but was able to get a lot done this weekend:


  • New radius rod bushings (HUGE DIFFERENCE, the old ones were in really bad shape)


  • Adjusted the radius arm, I found the drivers side was 1 cm shorter than the passenger
  • Replaced the heater control for the front - the old wire was bent and so you couldn't control the on/off heat.  Works now!  I lubed it with tri-flow first to keep it working well.

  • New fuel filter - trying to track down loud fuel pump.  I will try to backflush the pump this week.  This is the old filter.  I also replaced a small section of hose that had a small crack in it (thought I changed them all already).  I still don't like that crappy metal strap.

  • Speedometer works now.
  • Tachometer works.  I finally tracked down the issue.  If I disconnect the battery the signal drops to the tach.  The only way to fix is to take a voltage across the alternator.  I need to focus on the alternator harness, I think that the ECU is simply not getting a signal that it's running.
  • Horn works
  • Scuffed front disks with 40 grit, and will inspect the rears soon.  Brakes are SO much better (but not perfect yet).
  • Labeled wiring in the dashboard.  This should help the next owner some day.
  • Headlight high beam and turn signal dash lights work.  So do the night time dash lights!


 Took to the local park to throw the ball for the dog.  She is still getting used to it!


Wednesday, February 20, 2013

Goal: Inspection + plates this weekend

If I can get the dashboard back together, it *should* be ready for inspection on Saturday.  Fingers crossed!

Getting gas, happy it is running

To celebrate the brakes working better, I called my neighbor (also with a 1984 westy) to go fill it up.


Of course I took the photo of the good side!


Dashboard updates

Now that the brakes are "fixed" and it runs again, it's time to jump into the dashboard.  This means tach, warning lights, and night time lights.


I don't have photos of all the steps, but I have the tachometer working, and the warning lights are wired.  Turn signal light works and high beam light should work.

Won't start

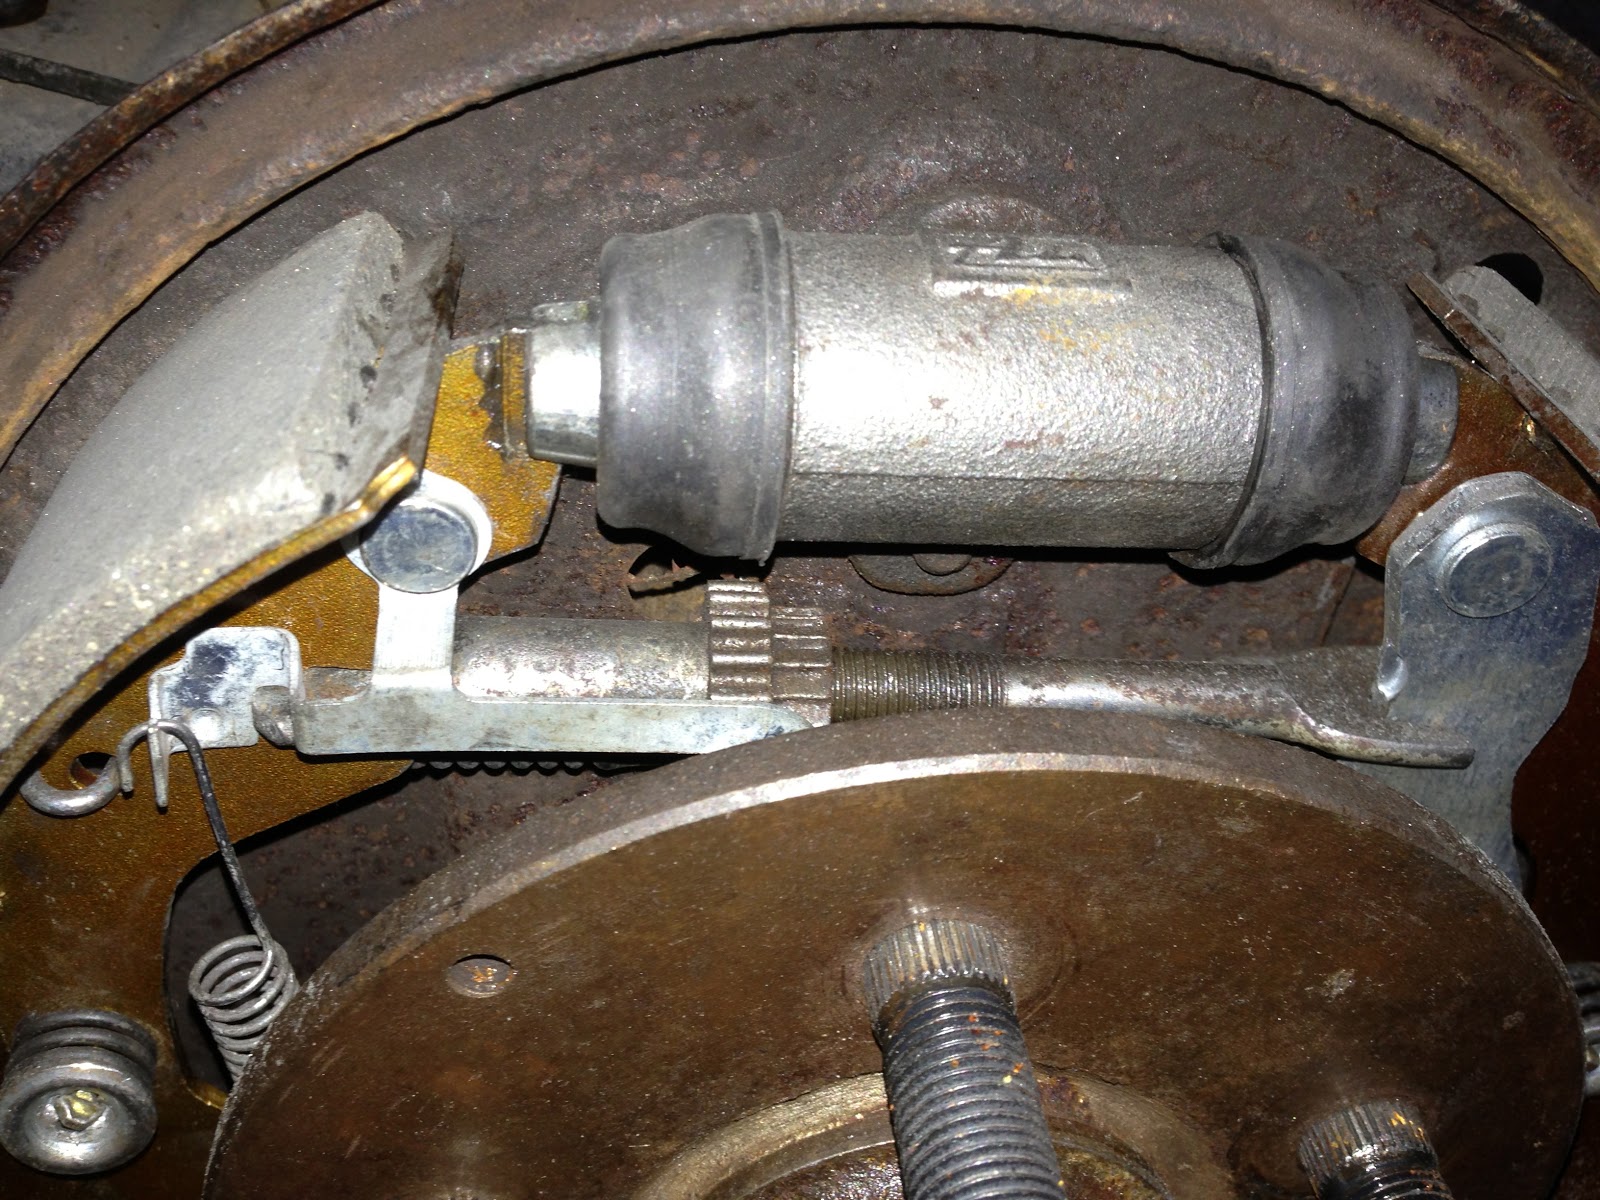
Of course in the middle of the break debacle, I try to start the &^%$! van and it would not.  Start that is!

I had messed around with so many wires I had no idea where to start looking.  This was mildly deflating to say the least.

WHAT NEXT???!!!

So, after I licked my wounds, I dove in.  Checked spark, fuel and found that the fuel pump was supposed to turn on briefly when turning the key to prime the system.  It was not.  So I decided to track wires.  Of course, I found crappy broken wires that would not do in the long run at all.  I ran new power and ground to the fuel pump and back to the ECM.  In the course of this I found a broken wire in the harness that I am sure I caused, but realized that I MUCH rather have it happen in the driveway than out on the road somewhere.

I also investigated more of the wiring and found a corroded combined lead in the engine compartment that looked like hell and was asking to fail.  I cleaned, replaced, soldered and heat shrink wrapped (my normal routine for ALL the wires I find).

Did that fix it?  Nope.

So I started investigating the fuel pump relay (tested ok) and finally jumped it directly.  Van started right up!  So I knew I was on the right track.

Messing around with the three wire bundles to the ECM I noticed that the connections looked crappy at best.  Then I found that when I moved one of the bunches, it would start the fuel pump.  Holy crap what I time bomb!

So I unwrapped it ALL and cleaned, soldered and heat shrink wrapped.  Suprisingly, it still did it.  I then traced it back to a slighly loose B134 plug.  I need to hit a junkyard to find a replacement, but found that if I shimmed it, it was very steady.  So that is what I did.


insert a lot of time here -->


Pain in the butt, but I feel better that it's more consistent now and looks much nicer.  Next step is to buy 2 inch wire loom and wrap the whole thing so that it's more weatherproof.

Brake update (and more)

Brake update!

Ok, we may have "decent" brakes now.  What an ordeal!

New when we bought it:

  • GoWesty Big Brakes
  • Master Cylinder
  • Shoes, Pads
  • Rear cylinders
  • Drums
  • New lines
  • New stainless steel flex lines up front

This was all very awesome!  But when we picked it up the car had severe brake warp that almost put the nix on buying it.  Once we made it home 800 miles later, I started to dig into it as you have read on the blog:

  • Turn front disks
  • Turn rear drums
  • New rear shoes (I noticed the original were peeling off from backing!)
  • New rubber flex lines rear
  • New used brake proportioning valve (likely unnecessary but I was at a loss)
  • Bleed like 15 times, each time something new
After this, still the same crappy pedal feel (no wobble, but just mushy).  I was pulling my hair out.  Next:
  • New master cylinder
  • New south african drums (the old had been turned past spec) yes I had to remove and install new wheel studs.


Bleed bleed bleed!  Same thing.  Crap!  Then I noticed a couple of things - one was that I believe I had the adjustment rod installed backwards on one side (the side with the notch, not the side with the fork in the photos below).  I noticed that when it was reversed, pushing on the brake introduced a bit of a moment arm making ONE side of the shoe touch first.  I think this was key in the brake feel.  

Wrong:


Right:

Second was that I finally bled the master itself by pushing on the brake pedal and opening slightly the top most line.  This allowed any air to escape...


Brakes are better now!  Not perfect, but better.  I will readjust once they have seated a bit more and I think we are on the right path.  

But the story is not over...


Tuesday, February 5, 2013

Wiring next steps...

So, brakes have to be on hold for a bit till I get the wiring figured out.  My current plan is to inspect all wiring in the harness and solder/repair as needed.  I already found one broken line (to fuel pump!) and another to starter in the engine compartment.

All in all these were likely strong enough connections but I like things bullet proof so they will be repaired correctly.  Solder and wirewrap it is!

It better start after this.  Then I can return to the brakes.

Brake parts arrived!

Soo - I ordered the south african drums for the rear because it seemed they are the most apt to be true, and perhaps longest lasting (and more fade resistance).  Ordered last week from Van Cafe and arrived today!

Old:


New in box:


Nice!


Very pretty - too nice to install.  I may have to paint with clear coat to keep them shiny.  I noticed right away that they won't fit over the shoes as they are, which is good and tells me there is some difference from what I have now.


You may have noticed that the studs are short.  For one I don't have the drum all the way in.  But yes, they need to be replaced with longer studs.  So, next step is removing the hub and studs...  but that is for another day.

New fuel line - crack in bend on engine intake

While I was troubleshooting my wiring issues, I found that I needed to disconnect fuel line to route wires more easily.  This was a good thing because I found this:


Hardly noticeable unless removed.  I've since bought new line for most of the engine and am debating to replace it all they way back to the tank on both sides.  The hard plastic line looks fine, but you never know and it's cheap insurance.


Won't start

If it rains it pours.  While I've been waiting for my brakes, I have been working on wiring.  Well - went to start it and no love!  It turns over but nothing else.  After my initial unhappiness, I started to jump in and see what happened.  I realized that in my wiring zeal I must have pulled on the harness and possibly disconnected a key wire or two.

Couple things on this - in my opinion I shouldn't ever be able to pull on wiring and have the van stop.  Ever.  So I'm glad it happened while I am in the driveway.

As a result, I believe that the wire in question was to the fuel pump.  I rewired and re-grounded the wire to the pump, and totally cleaned up the routing as needed.  I now need two new weatherproof connectors to the + and - on the pump, something to research soon.

Haven't tried starting it yet.  On to next post.